|
|
Post by oldroadietehachapi on Mar 1, 2021 16:11:29 GMT
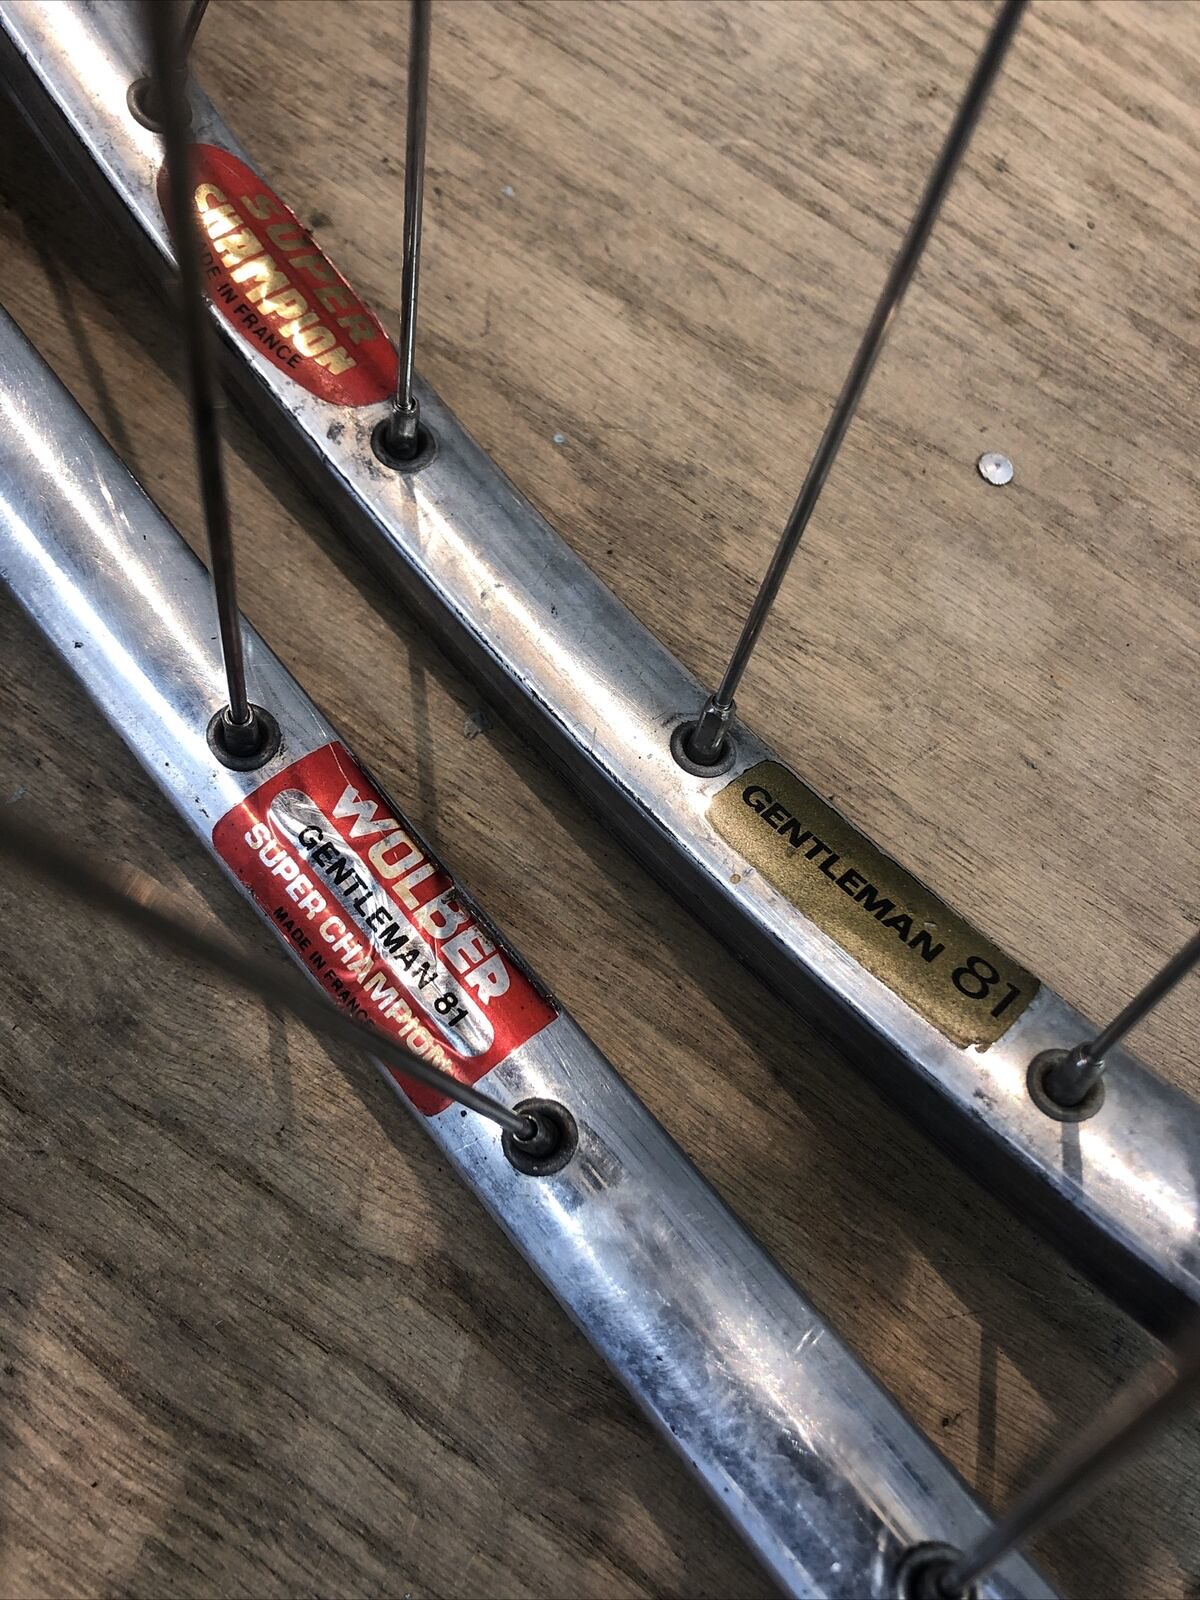
While looking for a wheelset for one of my vintage rides, I succumbed to temptation. I bought a nice vintage 700c Wheelset (with Ofmega Hubs and Wolber Gentleman rims) for the low price of $89 including shipping. Why so cheap? Well someone tried to remove the Regina freewheel and broke the notch (like in a recent thread). It is a bit of a gamble but the challenge sounds fun. There may be enough left of the notch to remove it with one of my freewheel tools. If not, I can disassemble the freewheel and remove whats left. I will post the result.
Jim
|
|
|
|
Post by brianbutler on Mar 1, 2021 17:12:39 GMT
Sounds like a good deal, Jim. I would probably get rid of that Regina freewheel even if it comes off with the tool, and if you have to destroy it, it's no big loss.
Brian
|
|
|
|
Post by franco on Mar 1, 2021 17:49:36 GMT
Jim, didn’t you once say the dura ace remover fits these? Be interested if to see if you can get it off with one of those.
It’s a shame, those Regina freewheels are decent quality and seem to last forever but what a pain removing them.
|
|
|
|
Post by oldroadietehachapi on Mar 1, 2021 18:08:17 GMT
Jim, didn’t you once say the dura ace remover fits these? Be interested if to see if you can get it off with one of those. It’s a shame, those Regina freewheels are decent quality and seem to last forever but what a pain removing them. Should fit and that is plan A.
I have several Regina freewheels in a box and avoid using them as they are all racing cogs and hard to remove.
Cheers Jim
|
|
|
|
Post by oldroadietehachapi on Mar 5, 2021 0:34:30 GMT
I received the wheelset today; about 20 minutes in the shop and the freewheel is off. The Dura Ace TL-FW10 did the job. I held the tool in place with a skewer and tightened the tool into a bench vise. It was harder than usual; a few hard cranks had to be supplemented by slightly tilting the wheel. This allowed the stabilizing ring on the tool to add a bit more grip. You can see where the ring touched in the photo. The freewheel was made with very cheap metal, soft and brittle, like pot metal. Considering the preexisting damage to the freewheel, I am very pleased with the result. It was a close one.  Regina Damage Regina Damage by Jim_Gude, on Flickr  Shimano DA TL FW10 Freewheel Tool Shimano DA TL FW10 Freewheel Tool by Jim_Gude, on Flickr Jim |
|
|
|
Post by brianbutler on Mar 5, 2021 3:19:29 GMT
Nice work, Jim. I have been thinking a short length of rectangular bar stock spanning the notches and clamped in a vise might be ideal. Maybe drill a hole through it for a threaded rod to keep it seated in the notches. But you would need it milled to the right dimensions so probably better to buy the TL-FW10. I see one on eBay for $35.50. It's too bad the Regina freewheel is made of bad metal. What a dopey mistake.
Brian
|
|
|
|
Post by oldroadietehachapi on Mar 5, 2021 3:59:43 GMT
Nice work, Jim. I have been thinking a short length of rectangular bar stock spanning the notches and clamped in a vise might be ideal. Maybe drill a hole through it for a threaded rod to keep it seated in the notches. But you would need it milled to the right dimensions so probably better to buy the TL-FW10. I see one on eBay for $35.50. It's too bad the Regina freewheel is made of bad metal. What a dopey mistake. Brian I have thought long and hard imagining the best tool for the job. I thought of a piece of bar stock in a vise' but it need something to hold it in place. Next I thought of a piece of tubing with bar stock tabs welded to it; but that bends. Next I thought of reinforcing the tabs and soon realized that the TL-FW10 was just what I was trying to invent. The TL-FW10 is my go to tool for any freewheel it fits. As for Regina freewheels; I never put one back on.
Cheers Jim
|
|
|
|
Post by franco on Mar 5, 2021 10:50:01 GMT
That does look a close shave, well done Jim.
Looks like that remover is a good investment if you are refurbishing vintage bikes in the long term. Thankfully I’ve only come across one Regina freewheel in around 25 projects.
|
|
|
|
Post by franco on Mar 5, 2021 16:13:32 GMT
Out of interest, a question for the more experienced guys, are there similar issues removing Suntour freewheels?
I ask as it’s a similar two notch design but if the steel is better quality I don’t suppose there is as much of a problem.
|
|
|
|
Post by wheelson on Mar 5, 2021 18:01:15 GMT
Out of interest, a question for the more experienced guys, are there similar issues removing Suntour freewheels? I ask as it’s a similar two notch design but if the steel is better quality I don’t suppose there is as much of a problem. Yes, sometimes the two notch Suntour freewheel bodies do present a problem, especially if they’ve be removed roughly before. That’s probably why the later Suntour bodies have the four notch design. As always, with any notched design, it’s good to use a quick release skewer to hold the tool snugly, remembering to loosen the qr when the freewheel begins to move. Best, John “wheelson” |
|
|
|
Post by oldroadietehachapi on Mar 5, 2021 18:49:16 GMT
Suntour is less likely to break (much stronger) but they can still be a pain. One must use a skewer to keep the tool aligned. I hand tighten the skewer against the tool and then backout a little (less than a quarter turn). When the freewheel comes slightly free, I backout the skewer a bit more and repeat. I do this until the freewheel will unscrew by hand. CAUTION do not apply pressure when the skewer is tight as you may strip the threads on the hub. Slop between the tool and the freewheel is the main precursor to damage. It is said that the TL-FW40 tool will fit some Suntour two prong freewheels, but not all. My TL-FW10 tool would not fit any of my Suntour freewheels; they have a slightly larger diameter than the id of the ring on the tool. The later Suntour four notch is a better design.
All the Best
Jim
|
|
|
|
Post by brianbutler on Mar 5, 2021 19:50:52 GMT
Two-notch Suntours are definitely easier to remove than the couple of Reginas I have removed/damaged. I have removed dozens of Suntours and have not had a problem yet. I use the skewer as recommended by John and Jim.
Brian
|
|
|
|
Post by franco on Mar 5, 2021 22:08:05 GMT
Thanks guys.
I noticed the Deore I bought from Sooper has a Suntour Perfect freewheel, no problems with it but wondering if I do need to remove it in the future.
|
|
|
|
Post by oldroadietehachapi on Mar 6, 2021 2:49:59 GMT
Thanks guys. I noticed the Deore I bought from Sooper has a Suntour Perfect freewheel, no problems with it but wondering if I do need to remove it in the future. I have removed several Suntour freewheels and (like Brian) never damaged one; nevertheless, the two prong system is inferior to later designs. I do have a couple of Suntour freewheels in service and will continue to use them. Suntour used good metal in their freewheels; Regina seems to have made their hub from dried out chocolate chip cookies. I do not reinstall Regina two prong freewheels. Cheers Jim |
|
|
|
Post by brianbutler on Mar 6, 2021 15:46:46 GMT
Suntour components were great until they got too clever, which killed them. Here is a freewheel I am currently struggling with. It came off a late 80's Miyata 80 SE that I found at the dump. The bike yielded a few decent components. The freewheel is sort of a freak - 6 speed with 5mm cog spacing instead of 5.5mm. I can't figure out how to open it for refurb.There are too many notched rings threaded in different directions. The inner two-notch ring removes the freewheel from the hub as usual and was no problem. The middle ring indicates it should come off counterclockwise, which seems wrong and did not work easily, so I tried the other way on a hunch that the directional arrows referred to something else, but that also seemed wrong and did not work easily enough. As you can see, I have messed up the middle ring with a punch during these attempts. I have no idea what the thin outer notched ring is for, but it is obviously not as hard as a steel punch 
If anyone has theories about how to open this thing please let me know. Full view and ring detail photos below.
Brian
|
|
|
|
Post by oldroadietehachapi on Mar 6, 2021 18:06:44 GMT
The 5.0mm spacing indicates an Utra 6 freewheel; handy for putting 6 speeds on a 5 speed wheel. The strange rings indicate a New Winner freewheel; considered the best ever made (by some). These links may or may not help.
Wish I knew more
Jim
|
|
|
|
Post by brianbutler on Mar 6, 2021 19:03:04 GMT
The 5.0mm spacing indicates an Utra 6 freewheel; handy for putting 6 speeds on a 5 speed wheel. The strange rings indicate a New Winner freewheel; considered the best ever made (by some). These links may or may not help.
Wish I knew more
Jim
Thanks for the links, Jim. Evidently this is a New Winner with Ultra-6 cog set, and after I checked my records I see that it came off a Viscount GP whose rear wheel had been replaced with one having a Maillard hub and this freewheel. There is really nothing wrong with the freewheel and now I wish I hadn't dinged it up. I just wanted to see what was inside. The gearing is slightly aggressive (13-26). I think I'll put it in the Cuisinart Professional Parts Cleaner (programmable crock pot in perfect condition I picked up for $15) with a some Simple Green and it should come out smooth as silk.
Brian
|
|
robt
Viscount

Posts: 559 
|
Post by robt on Mar 6, 2021 21:03:21 GMT
"I think I'll put it in the Cuisinart Professional Parts Cleaner (programmable crock pot in perfect condition I picked up for $15) with a some Simple Green and it should come out smooth as silk."
Brian, Will putting the freewheel in the parts cleaner remove all the internal lubrication as well as the external grime? If so, will you run some oil back into the ball races and pawls after cleaning? Just interested to know how effective these devices are, as I've never had access to one. From your description, I'm assuming that it isn't an ultrasonic parts cleaner. RobT. |
|
|
|
Post by brianbutler on Mar 6, 2021 22:26:16 GMT
Rob, my parts cleaner is just a kitchen crock pot that I am using for bike parts. I like it because it keeps the [non-volatile] solvent hot for a period of time and then shuts off automatically so I don't burn the garage down. I would not use mineral spirits in it for fear of a fire and too many fumes. I have a small ultrasonic cleaner that is not effective at removing old grease and other bike dirt. I made a jig once that held a freewheel on a rod held in an electric drill so I could spin the freewheel in a tub of solvent. I thought that worked well until I took a freewheel apart afterward and found that it did almost nothing to remove the dried grease and dirt. I also discovered that it is no great difficulty to disassemble, clean, and rebuild a freewheel, so that's what I try to do now. I think the alarmist web posts about the process are by people who have not tried it. Sure, there are lots of little ball bearings, but so what? You just lay down a thin bead of grease and stick them back onto the races during assembly. Freewheels never have internal wear and almost no lubrication is necessary. Afterward, the freewheel is literally as good as new.
Brian
|
|