Jem
Viscount
 ?
?
Posts: 3,390 
|
Post by Jem on Jan 8, 2021 17:00:56 GMT
Does anyone here have experience with these? They have come done in price so much in the last few years, I might be tempted to dip my toe in the water with a low end one.
I would be interested in any thoughts people have. Thanks in advance
Jem
|
|
|
|
Post by wheelson on Jan 8, 2021 21:01:55 GMT
Not much experience. The company I worked for used an industrial version years ago to prototype cutting tool insert shapes.
My daughter gave my son-in-law one for Christmas. I just saw it running last week for a few minutes. He was making some copper colored plastic soap dishes for their newly renovated bathroom. The material being fed in was on a spool and was a plastic material of some sort that reminded me of floating fly line for fishing. He said you need a CAD program but that they're many available for download online. Very cool!
I purchased some of those plugin top tube cable guides on eBay for my '93 Cannondale that I'm sure were 3D printed. As I recall they were not cheap, so I guess you could have a go at a cottage industry if you could "fill the unfilled need".
Best,
John "wheelson"
|
|
Jem
Viscount
?
Posts: 3,390
|
Post by Jem on Jan 8, 2021 21:26:02 GMT
Not much experience. The company I worked for used an industrial version years ago to prototype cutting tool insert shapes. My daughter gave my son-in-law one for Christmas. I just saw it running last week for a few minutes. He was making some copper colored plastic soap dishes for their newly renovated bathroom. The material being fed in was on a spool and was a plastic material of some sort that reminded me of floating fly line for fishing. He said you need a CAD program but that they're many available for download online. Very cool! I purchased some of those plugin top tube cable guides on eBay for my '93 Cannondale that I'm sure were 3D printed. As I recall they were not cheap, so I guess you could have a go at a cottage industry if you could "fill the unfilled need". Best, John "wheelson" Thanks for the overview John. Did the soap dishes look good? I guess much depends on the cost of the 'spools' of 'thread' as to whether it is cost effective. I like the idea of being able to knock small things up, and maybe finding a niche area of a market too. I was amazed at how much they have come down in price. |
|
|
|
Post by wheelson on Jan 8, 2021 22:04:16 GMT
Yes, the dishes actually look like copper, in fact I thought that's what he was somehow using. I have no idea as to cost of the machine or the materials. A niche market in the cycling field would be nice if you could find one that works. As I recall, those Cannondale cable guides were about US$35 and that was perhaps 5-6 years ago. When you just can't find anything else, even $$ seems cheap.
Best,
John "w"
|
|
Jem
Viscount
?
Posts: 3,390
|
Post by Jem on Jan 9, 2021 9:01:55 GMT
Just done a bit of reading on this. To recreate a small part like a cable guide from one you already own , you would need some pretty capable hardware in the form of a scanning camera and software to do it (although it seems the very latest iPhone has the technology ). And you scan the item with the camera , put into computer software then send to 3d print If you don't have the item in your possession in front of you, then the only 2 other options are, someone else has scanned the item before and is willing to share the scan with you. Or you have to create it in some kind of CAD software by 'drawing' it on your computer. Here's the 3d model sharing web site. www.thingiverse.comVery interesting to see what can be done. It struck me yesterday that if the manufacturers who made my cooker sold 3d plans for the plastic knobs that have gotten slightly damaged over the years then you could just print them at home. Then the very next second I realised that if they did and someone made them readily available on-line then my cooker manufacturer might not sell another set of 3d plans via their web store though. Not sure what the longer term plan is for 3d printing but it seems to offer lots of possibilities for people who like to maintain things rather than dispose of them and buy new. I like the idea of the independence it might bring, by not relying on the manufactures. I'd like to see some repair plans and access plans come all the items when we buy. I recently got one of those OBD gadgets for £20 that plug into your car to diagnose the fault codes. It got the code within seconds and I could pin point the problem straight away. Previously I would have had to go to garage , be at the mercy of what they told me the fault was and then the labour charges. (for info it was a fuel/air mix code which was related to a dirty sensor but an unscrupulous garage might have said something like my catalytic converter was broken and I needed a new one) |
|
|
|
Post by wheelson on Jan 9, 2021 15:03:11 GMT
Jem,
This seems like very good info. I applaud your sense of independence in keeping stuff alive, the essence of what we're doing here with near 50 year old bikes! I think 3D printing could be another tool in our quest to keep our passion for these old bikes going. Now, about those elusive Lambert/Viscount pedal end caps. . .
Best,
John "wheelson"
|
|
|
|
Post by brianbutler on Jan 9, 2021 17:06:33 GMT
Let's print up some replacement forks in the true Viscount tradition of cutting edge technology.
Brian
|
|
|
|
Post by wheelson on Jan 9, 2021 20:48:22 GMT
Let's print up some replacement forks in the true Viscount tradition of cutting edge technology. Brian In light of all the carbon fiber forks out there, I wouldn’t be surprised if that hasn’t happened, at least as a prototype. I just saw in Bicycle Quarterly a photo of a prototype rear derailleur, printed full size in neon green. Perhaps the printed L/V forks could be color coded for Types 1, 2, and 3! ;-} Best, John “wheelson” |
|
Jem
Viscount
?
Posts: 3,390
|
Post by Jem on Feb 26, 2021 22:26:57 GMT
Well, long story that I will try to keep brief. I went to buy a very much cut-price belt/disc sander yesterday from one of these people who buy pallets of returns that cant be re-sold with a warranty (I am guessing from Amazon). This was unusual though in that it hadn't been used and had an Italian address on the box , and as such a European plug on it. It's a case of haggling the price. Took it home very pleased with it. Went over again today to buy an adjustable table and there on the shelf was a 3d printer. No point asking to see it working because they take a lot of setting up. Anyway, got a price I was very happy with and took the risk that at worst it was going to be an expensive paperweight . Happy to report that within a couple hours, my son and I had set it up and printed a test piece off. They are clever things and quite amazing to watch. The product is really hard but light and other than the fact that they are a single colour and therefore would need painting afterwards, I am convinced they could be made to produce pedal dust caps no problem. The material is ideal. The software part of it isn't my bread and butter , but I think if I can get very accurate measurements from a V pedal cap, I will give it a go and let you know how things go.  IMG_6168 IMG_6168 by |
|
|
|
Post by brianbutler on Feb 26, 2021 23:07:49 GMT
Super, sooper8. I'm sure that's the way to do it. I used to have a CAD program but never used it much. Maybe someone on this board has it or has access to it.
Brian
|
|
Jem
Viscount
?
Posts: 3,390
|
Post by Jem on Feb 28, 2021 7:39:08 GMT
Just wanted to share a couple more photos on this topic. The plans for this came from a file made by someone on a sharing forum; I find it particularly pleasing in it's nature and form. It is a holder for the tools that are used in the set up and maintenance of the machine and they slot within the groove of the cross beam on the top of the frame of the printer.(the part in white is the printed part) I love the fact that a 3d printer can print many of the components that are used in the construction of itself. This job took 2.5hrs and is it set hard, like acrylic. There are 2 other forms of filament, one will give a rubberised end product , the other is very flexible but holds it's shape, and returns to that shape. The one I am using now would be the one for the pedal end caps. 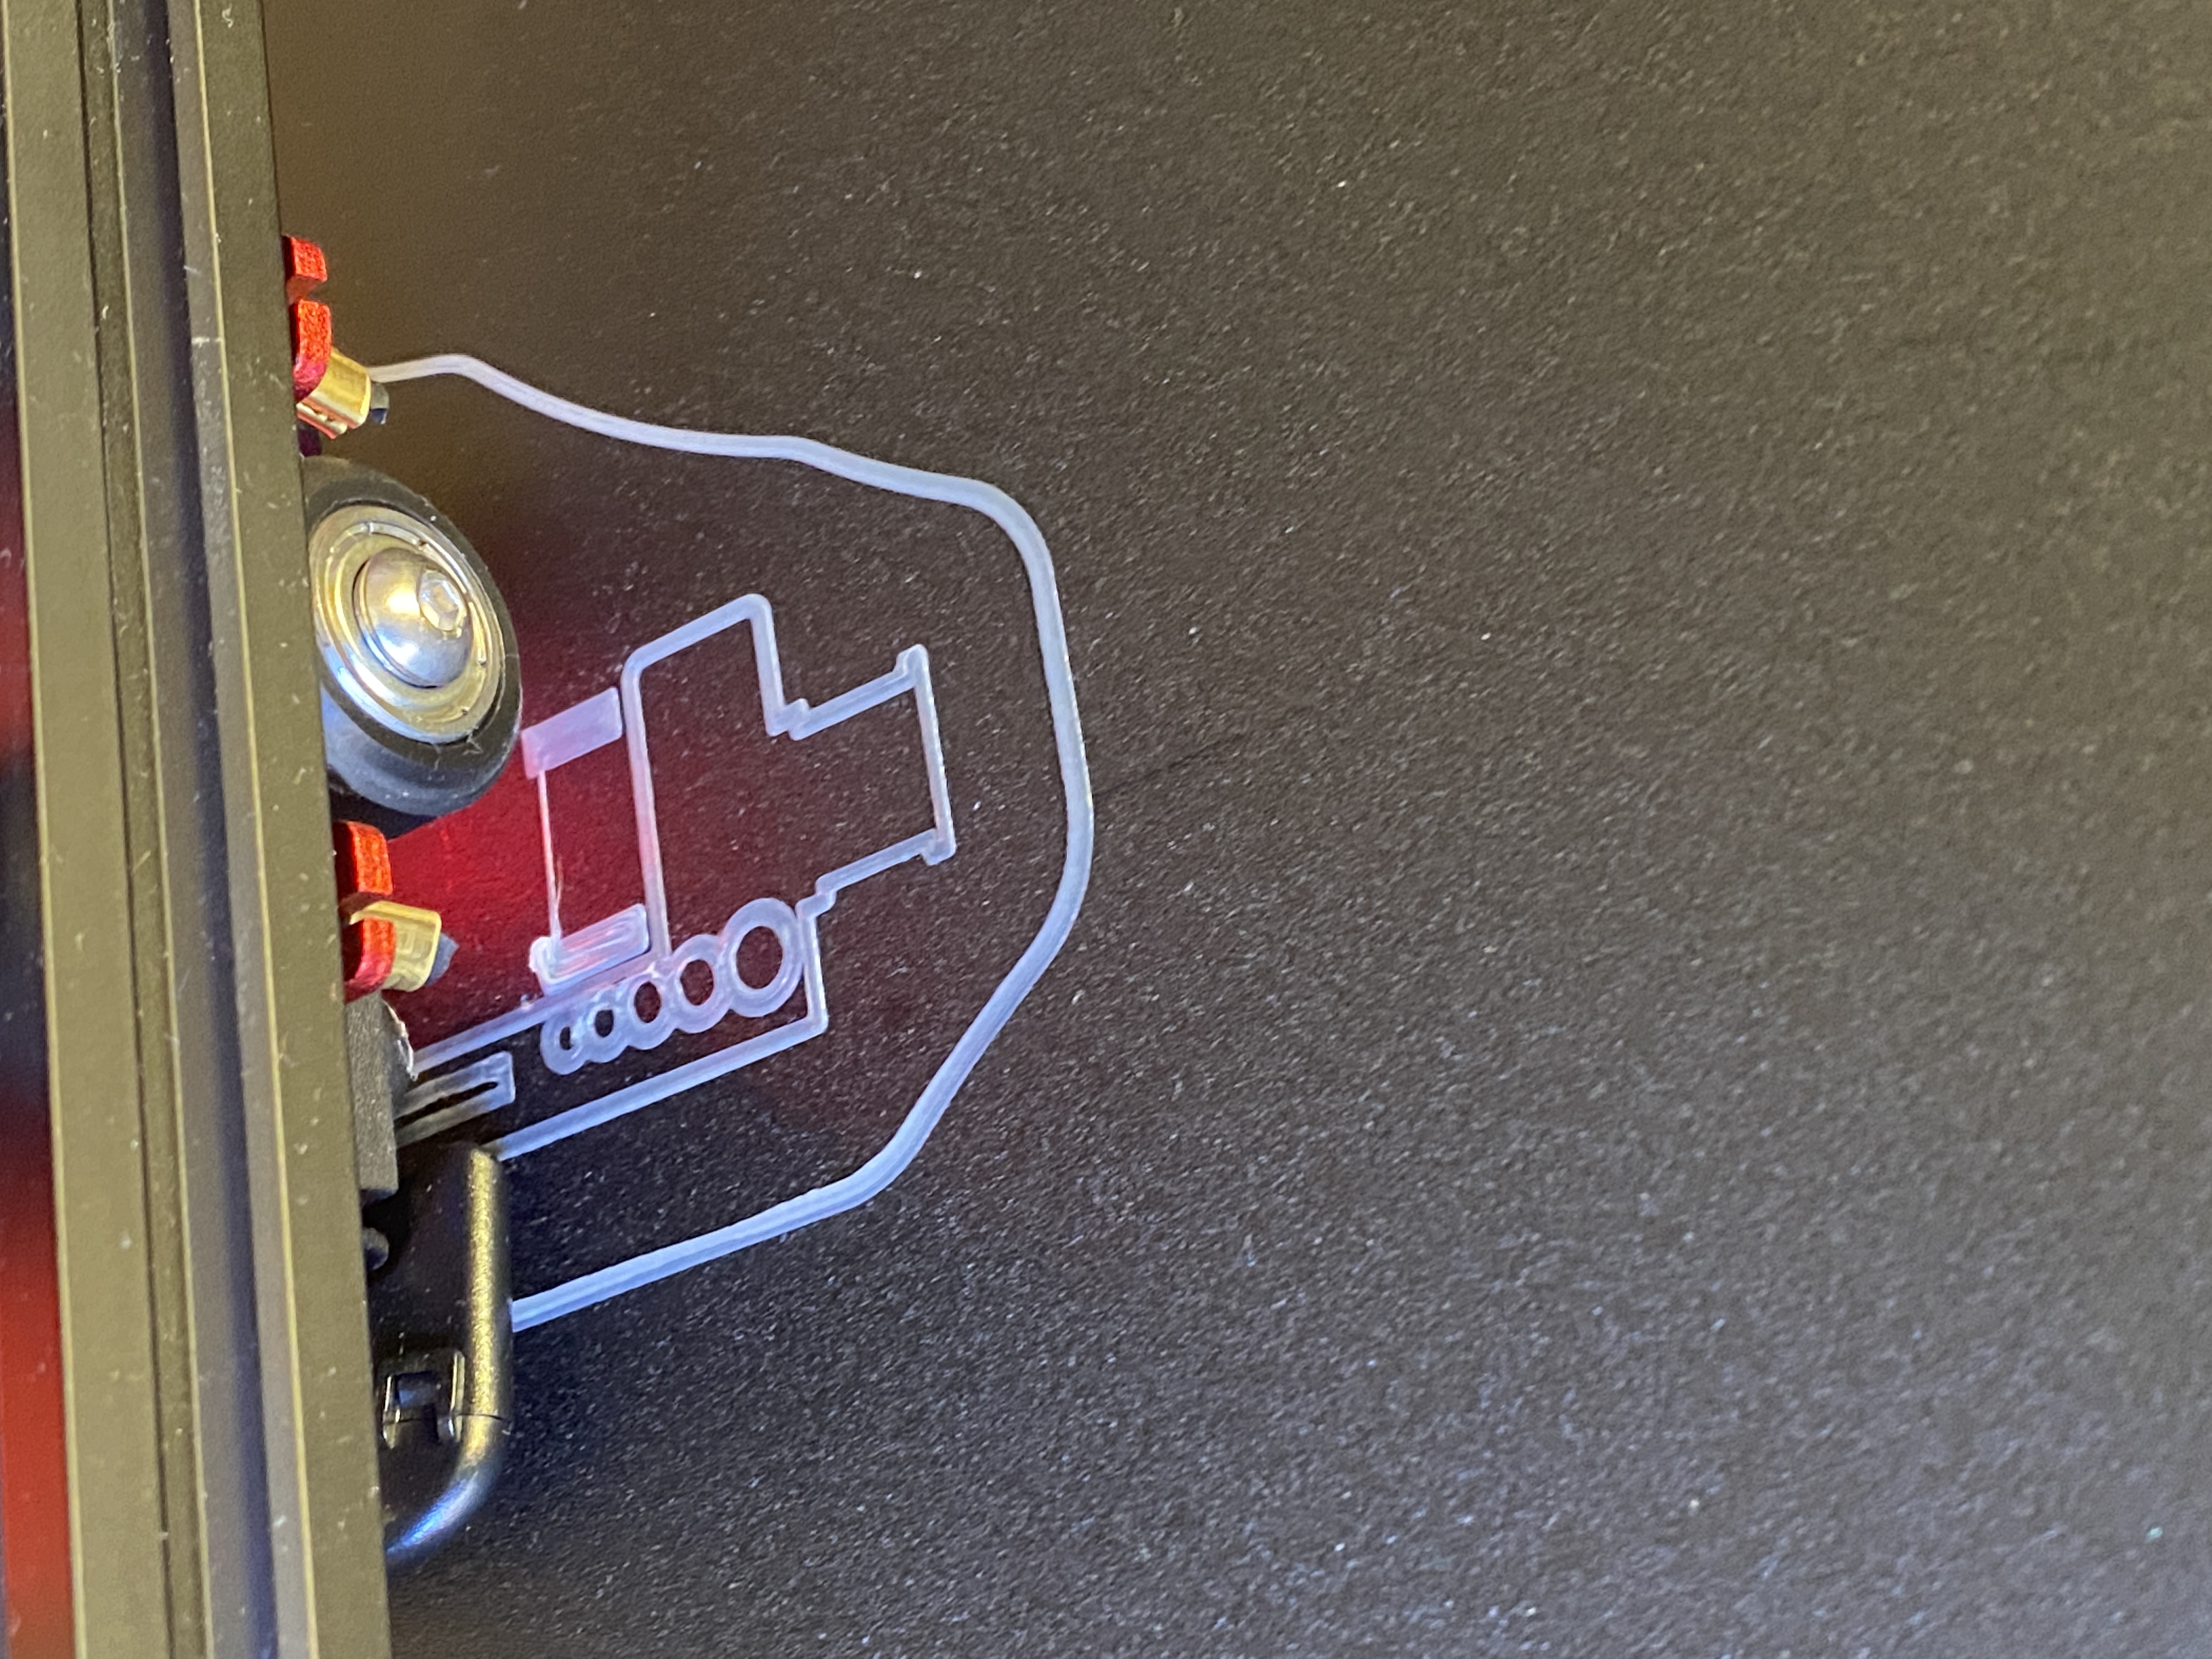 IMG_6186 IMG_6186 by
 IMG_6203 IMG_6203 by |
|
|
|
Post by brianbutler on Feb 28, 2021 13:03:13 GMT
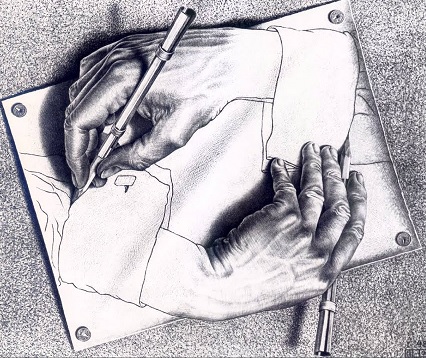
I love the fact that a 3d printer can print many of the components that are used in the construction of itself. It is rather Escher-esque, "Printing Printers" instead of "Drawing Hands".
|
|
Jem
Viscount
?
Posts: 3,390
|
Post by Jem on Feb 28, 2021 17:17:16 GMT
Very good Brian - that exactly sums up my mind while thinking of a 3d printer making parts for itself. Here's a little job I did today. One of the pusher buttons in my car key fob had fallen out a while back. Printed one, and then realised I needed swap out the other for aesthetic balance.  IMG_6215 IMG_6215 by |
|
|
|
Post by brianbutler on Feb 28, 2021 22:56:17 GMT
How did you get the design for the buttons? What is the input to the printer to produce those buttons?
Brian
|
|
rodh
Viscount
Posts: 122
|
Post by rodh on Mar 1, 2021 0:01:43 GMT
Yup - I'm intrigued by this too ... how do you make the CAD file? I ask because I have some PD-T100 platform pedals but the plastic inserts are long gone. If I could print some replacements that would save them. Thanks, Rod |
|
Jem
Viscount
?
Posts: 3,390
|
Post by Jem on Mar 1, 2021 8:57:35 GMT
For the key fob buttons I found an existing file on this web site. It's a site for people sharing their creations. I was quite amazed that they had my particular model Toyota and someone had already done the hard work for me in the CAD. I ordered a set of digital vernier calipers last night, arriving today , for doing my own prints from the ground up. My son is reasonably familiar with the CAD software and I plan to sit with him as he talks me through how to use it. If I can get very accurate measurements and angles etc, then translate them via the software, then I am confident that most things that are smaller than my head are printable. Most things I would want to do fall into that category. But my son tells me that when shapes are complex or large, then you can build in 'pins' into the sections and join sections together. You can also sand and file the finished item. I have yet to paint any but I believe they take spray paint well. I am thinking that pedal caps/inserts are ideal candidates for 3d printing. But my thoughts turn to the next steps of painting or how to do the V logo to make them look good . I remember on here a while back that someone created some end cap V logos. Note- there are a variety of filament colours too, silver is available. As far as I know, there is no easy/cheap solution to home scanning an item into CAD using a camera as yet. That is what my son did at Pinewood for the films- he did scans of people and props and they used special cameras to capture the item and get every bit of info from the item just by using Lidar. No measuring needed. Then they can store the props digitally to be made for the inevitable sequel. Plus the scan of the actors head then can be used on a stunt double and for other purposes. EDIT - for info, the filament in a small job equates to pennies; larger jobs can take many hours, and I have yet to calculate the power used and electric used in the process. But other than time input to build something from scratch , the cost of materials is low (at the moment anyway) |
|
Jem
Viscount
?
Posts: 3,390
|
Post by Jem on Mar 1, 2021 9:08:01 GMT
Yup - I'm intrigued by this too ... how do you make the CAD file? I ask because I have some PD-T100 platform pedals but the plastic inserts are long gone. If I could print some replacements that would save them. Thanks, Rod You can use free software like Sketchup and you just start with a square, triangle or circle , then you start pulling/extruding them to size.Then place another shape on to that shape. Using those basic elements you arrive at the shape you need. Then export. Then you take it to what is called 'slicing software' that works out for the printer how it will build up the layers. Then onto a little memory card and put into printer. The slicer software tells you how long the job will take, how much in £/p and at that point you can specify how much 'infill' you want - so depending on use it can be dense or hollow, honeycombed centre etc. You can vary the quality and affect speed. You can add several items into each print run and place then with small space between them. |
|
Jem
Viscount
?
Posts: 3,390
|
Post by Jem on Mar 1, 2021 11:14:38 GMT
Just a thought...if I were to manage to create the file for the end caps and get a decent quality print, then anyone in another part of the world wouldn't need to have them printed here and posted (with the expense that entails), because if they knew someone with a 3d printer, I can just send the file across.
|
|
|
|
Post by brianbutler on Mar 1, 2021 14:47:57 GMT
Thank you for the detailed explanation. It is enough of a toehold to get started.
Brian
|
|
|
|
Post by brianbutler on Mar 1, 2021 15:24:12 GMT
This topic has re-ignited a project I was thinking about - a 3D wire bender to make various bike springs. I had gotten as far as the software and the micro-controller because that was my expertise in a former life phase, but I was stalled by how to make/acquire the necessary mechanical components. I think 3D printing is the answer. Here is a link to a video about the wire bender project:
Here is a link to a tool that might be useful for creating the CAD designs:
Brian
|
|
|
|
Post by wheelson on Mar 1, 2021 18:21:36 GMT
This topic has re-ignited a project I was thinking about - a 3D wire bender to make various bike springs. I had gotten as far as the software and the micro-controller because that was my expertise in a former life phase, but I was stalled by how to make/acquire the necessary mechanical components. I think 3D printing is the answer. Here is a link to a video about the wire bender project:
Here is a link to a tool that might be useful for creating the CAD designs:
Brian
Very cool video, Brian. I used to do a lot of this type of work pre-3D printing era. It sure would have made my life easier! On the subject of 3D printing, my wife just asked my daughter ideas for our son-in-laws birthday. Answer - 3D printing filament assortment. Best, John “w” |
|
Jem
Viscount
?
Posts: 3,390
|
Post by Jem on Mar 1, 2021 20:11:16 GMT
Brian - thank you for that link, Tinkercad is just up my street. The person who designed that is a master of clarity and simplicity. No wonder that the site is used by educators. That is my level at the moment.
The ones my son has shown me are more sophisticated and scary.
I love that wire bender project. As far as I can see , most of the grey components look to be 3d printable.
|
|
Jem
Viscount
?
Posts: 3,390
|
Post by Jem on Mar 1, 2021 22:36:38 GMT
Brian - Tinkercad is a delight to use. Not something you can say for many applications of that ilk. Things are getting interesting now. But the calipers I got today are giving faulty measures (not by much, but enough to be ineffective ) Here's a little viscount badge I knocked up  IMG_6226 IMG_6226 by |
|
|
|
Post by brianbutler on Mar 2, 2021 1:27:52 GMT
Nice job on the coin as well!
|
|
Jem
Viscount
?
Posts: 3,390
|
Post by Jem on Mar 2, 2021 7:46:00 GMT
Nice job on the coin as well! Now, there's an idea! |
|
Jem
Viscount
?
Posts: 3,390
|
Post by Jem on Mar 3, 2021 17:00:16 GMT
Doing a spot of experimentation with the spray painting, all the while thinking about the pedal end caps. Here's my Viscount badge. My son bought some chrome effect spray (see his below mine) and they come out very well, but not sure if chrome or silver/light grey would be more in fitting for the V pedal cap? Then it would need some cut out stencil and masking to get the V on there.  IMG_6252 IMG_6252 by
 IMG_6247 IMG_6247 by
|
|
Jem
Viscount
?
Posts: 3,390
|
Post by Jem on Mar 4, 2021 10:39:40 GMT
This topic has re-ignited a project I was thinking about - a 3D wire bender to make various bike springs. I had gotten as far as the software and the micro-controller because that was my expertise in a former life phase, but I was stalled by how to make/acquire the necessary mechanical components. I think 3D printing is the answer. Here is a link to a video about the wire bender project:
Here is a link to a tool that might be useful for creating the CAD designs:
Brian
Brian - if you had one of those wire-benders, how would you be able to take an existing spring and then 'program' into the Arduino/bender to create one? Is that the same kind of process as a 3d print, ie in Tinkercad type software, and lots of accurate measuring? Jem |
|
|
|
Post by brianbutler on Mar 4, 2021 17:14:05 GMT
The way this project works is that you write a C-language program for the Arduino microprocessor for each spring. The author gives several examples. Since I am a programmer, I would probably start out the same way (i,e, hard coding each spring) but with an eye toward making a more intuitive front end mated to a more general program for the Arduino card. It might be worth investigating how springs and bent wires generally are represented in CAD files and use the CAD program as the front end. The likely problem with that approach is that it replaces one technical skill (programming) with another one (CAD design). For casual use, it might be better to write a dedicated front end to specify the spring in some homemade format and a program in the Arduino to interpret the specification.
As a first approximation, springs consist of segments of wire connected by bends. Segments can be straight or helical, and the helices can be open or tight. That would probably be sufficient for any bike spring you can think of.
The example design does not have a way to wind a helix. It also has a fixed bending radius. So there is some mechanical thinking needed as well. It might be easier to just make your springs using a manual wire bender.
Brian
|
|
Jem
Viscount
?
Posts: 3,390
|
Post by Jem on Mar 5, 2021 9:14:32 GMT
The way this project works is that you write a C-language program for the Arduino microprocessor for each spring. The author gives several examples. Since I am a programmer, I would probably start out the same way (i,e, hard coding each spring) but with an eye toward making a more intuitive front end mated to a more general program for the Arduino card. It might be worth investigating how springs and bent wires generally are represented in CAD files and use the CAD program as the front end. The likely problem with that approach is that it replaces one technical skill (programming) with another one (CAD design). For casual use, it might be better to write a dedicated front end to specify the spring in some homemade format and a program in the Arduino to interpret the specification. As a first approximation, springs consist of segments of wire connected by bends. Segments can be straight or helical, and the helices can be open or tight. That would probably be sufficient for any bike spring you can think of. The example design does not have a way to wind a helix. It also has a fixed bending radius. So there is some mechanical thinking needed as well. It might be easier to just make your springs using a manual wire bender. Brian Thanks for detailed reply Brian .By the time I got to your final paragraph, my brain was overloaded , and came to the same conclusion as you, that using manual wire bender might just be easier for someone without the other background training in programming |
|
Jem
Viscount
?
Posts: 3,390
|
Post by Jem on Mar 16, 2021 20:33:56 GMT
|
|